Waste Detector Ticket Integration
This article explains how to integrate the Waste Detector’s recommendations in Umbrella with your ticketing system to streamline issue tracking and resolution.
Supported Ticketing System (ITSM)
The Waste Detector currently supports manual recommendation integration with Jira and Jira Data Center.
Working with Jira from Waste Detector
This article explains how to integrate Umbrella Waste Detector recommendations with Jira or Jira Data Center to streamline ticket creation and tracking.
Step 1 (Optional) - Set Up Bi-Directional Updates
If you want updates in Jira to automatically reflect in Umbrella — and vice versa — you can configure Bi-Directional Update.
-
Access Integration Settings
- Go to Recommendations-> Waste Detector-> Settings → Jira/Jira Data Center.
- Set the Default Jira Channel
-
Choose the Jira project or channel that will be used by default for Waste Detector tickets.

In Umbrella, the ticket type is defined within the Jira channel integration. Selecting a channel automatically determines the associated project and ticket type.
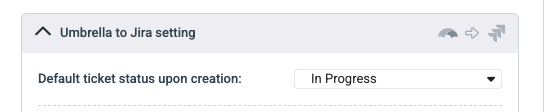
- Set the default ticket status upon Jira Ticket creation from Waste Detector recommendation:
- Choose the initial status that tickets will be assigned when they are created in Jira from Umbrella, ensuring they align with your workflow and tracking requirements.
- Enable Bi-Directional Update
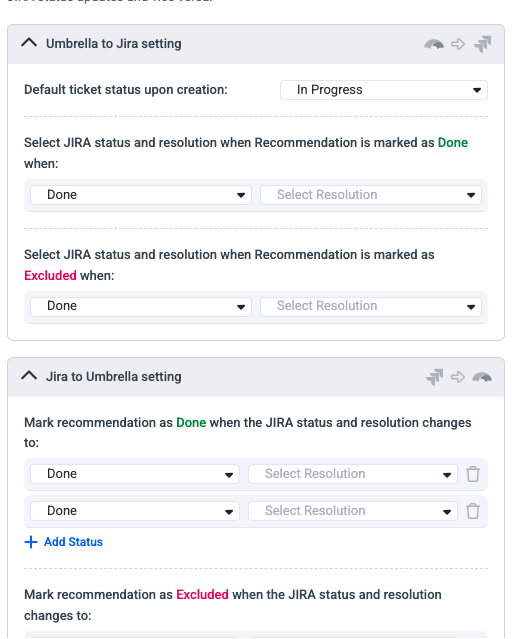
- Map the status and resolution fields between Umbrella and Jira.
- When mapped:
- Jira → Umbrella: Closing or resolving the Jira ticket in the Jira Platform will automatically mark the recommendation as Done or Excluded in Umbrella.
- Umbrella → Jira: Marking a recommendation as Done or Excluded in Umbrella will automatically update the linked Jira ticket’s status in the Jira Platform.
- There can be several mapping from Jira -> Umbrella as there can be multiple status that indicate closing ticket closing.
- This step is optional, but recommended for keeping both systems fully in sync.
Step 2 - Manually Create a Jira Ticket from a Recommendation
- Open a recommendation in Waste Detector.
- Click Create Ticket.
- The default Jira channel you configured in Step 1 will be automatically pre-selected.
- Fill in any additional ticket details (summary, description, priority, etc.).
- Submit the ticket — it will now appear in Jira, linked to your recommendation.
The recommendation details reflect the values calculated on the day the ticket was opened.
For example, when the recommendation was first created, the potential savings might have been $1,000. Since the savings are calculated on a daily basis, the value displayed in the UI may later update to $2,000. However, the ticket will continue to reflect only the original value recorded when it was opened ($1,000).
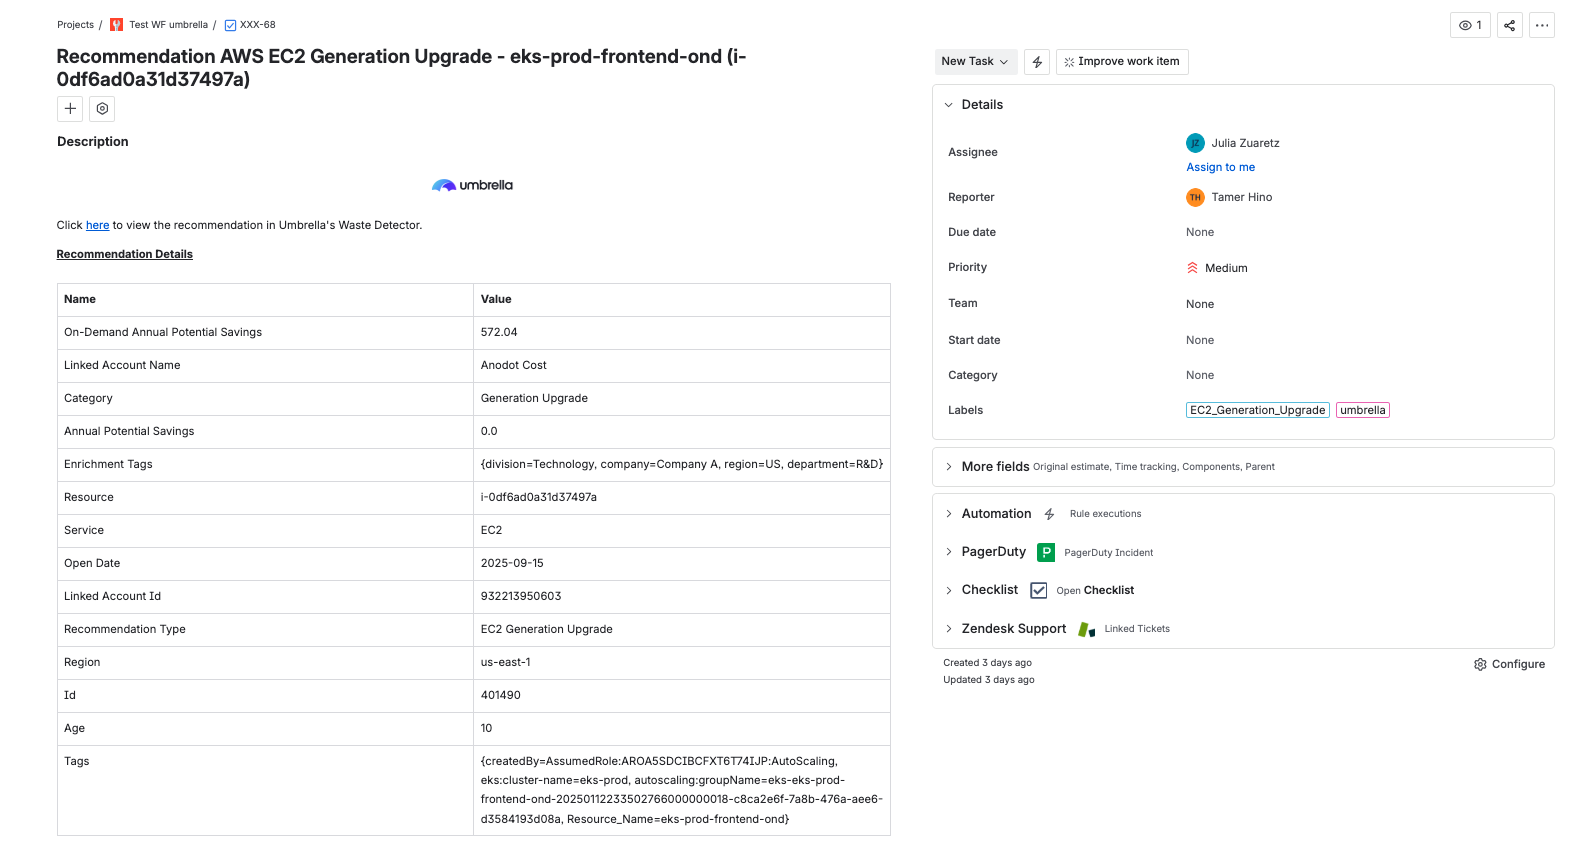
Jira ticket created for the recommendation
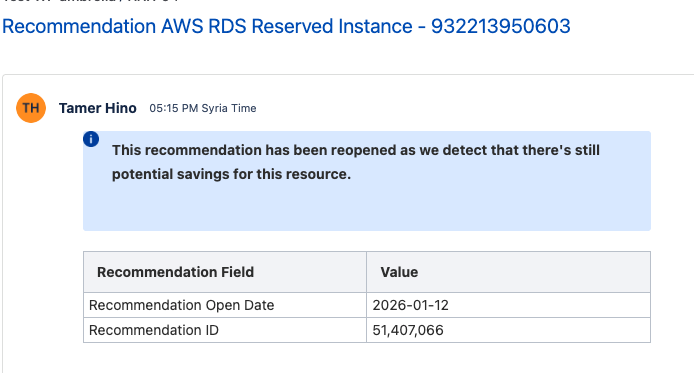
Ticket automatic updates
In case the recommendation is closed/reopen we will post a comment with the details. For example, a reopen recommendation ticket update:
Ticketing Tracking Visibility
Ticket details are synchronized every 5 minutes with both the Waste Detector recommendation and the corresponding Jira ticket.
For example:
- Any comments added in the recommendation will appear in the Jira ticket within 5 minutes.
- Ticket tracking information-including Ticket Number, Assignee, Status, and Resolution-will be reflected in the Jira ticket within 5 minutes.
-
Once the Jira ticket is created, the recommendation is marked as linked to a Jira ticket:
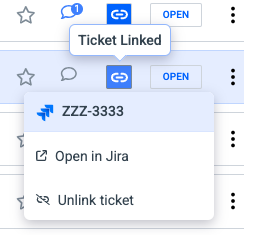
- The linked ticket can be unlinked by clicking the blue link icon and then clicking "Unlink ticket".
This Action won't delete the ticket in Jira side, the Jira ticket should be deleted on Jira side.
- Click the "Show Tickets Tracking" in order to see the linked Jira ticket detailes such as Ticket Number, Ticket Status and Ticket Resolution.

- Click on the link to open the ticket in the Jira platform.
- If the Jira Bi-Directional setting is configured, the recommendation status will automatically update when the Jira ticket is marked as Done or Exclude.
Comments Logic
- If a Jira ticket is closed but the status or resolution isn’t synced with Umbrella for any reason and the recommendation closer is failing, the recommendation won’t be marked as Done; however, the comment in the Waste Detector recommendation will still be updated.
- Comments are not currently synced between Jira and Umbrella.